
There are a ton of photo-editing tools and programs out there, but some of them require software you have to buy or download; others are just hard to figure out on your own. If you’re like me, you need a step-by-step tutorial on how to do the simple project you are working on.
Images on a transparent background are super helpful when creating graphics for your blog or social media accounts. If you found a picture of something you want to use, but it’s on a white (or other solid color) background, you don’t want that white square showing around your image when you try to incorporate it into your design. This tutorial is an easy fix to that difficult problem.
To use the image you want on a transparent background, there are a few things you need for the project. Once you have everything you need, you’ll be have your stand-alone image in less than a minute.
Let’s go!
What you need:
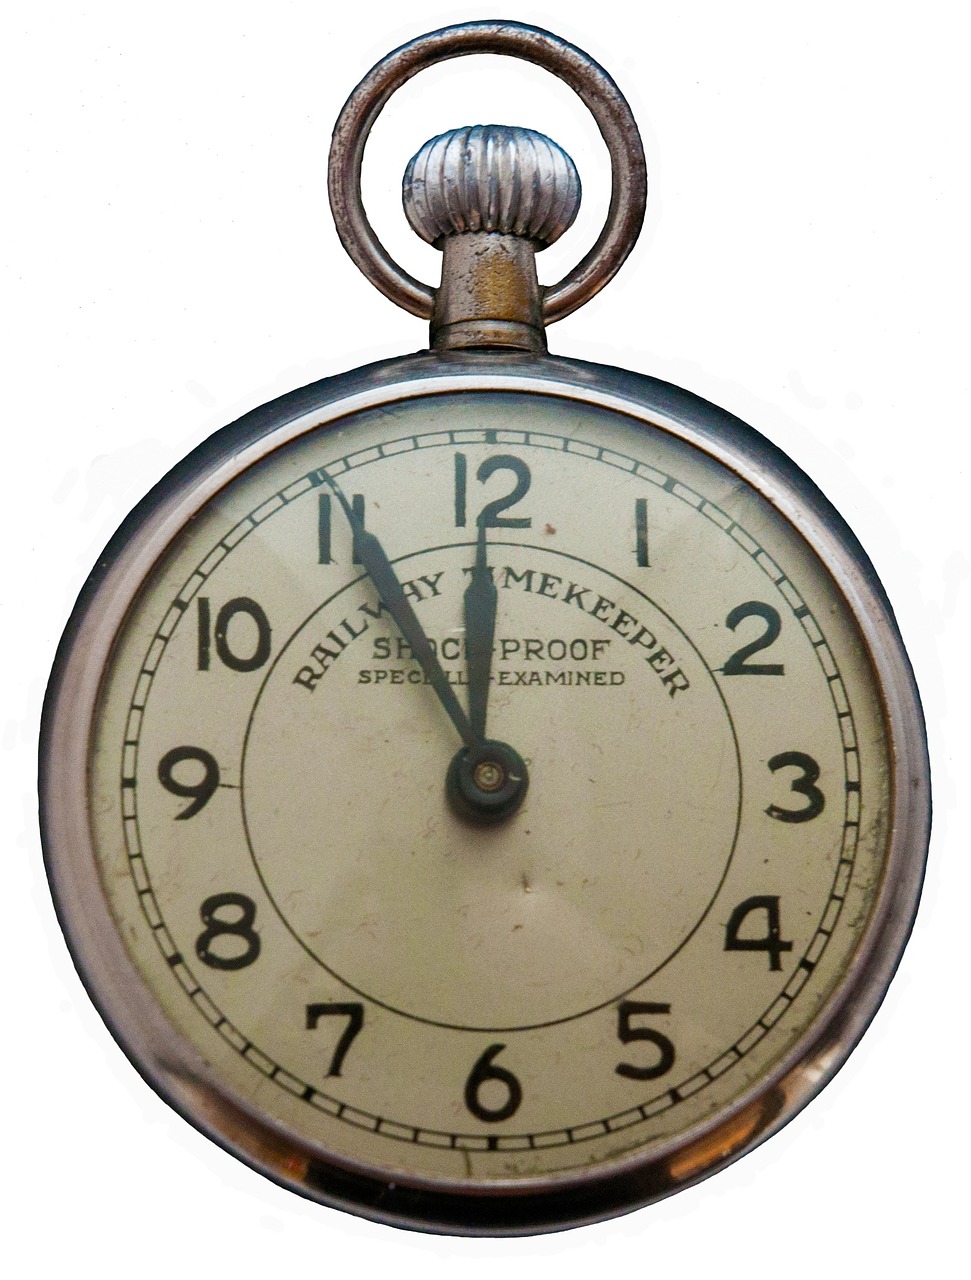
- Picture of image you want against a transparent background (Solid color backgrounds work best.) This is the most time-consuming part of the whole process – finding juuust the right image. This is the image I chose as an example. It’s on a white background, which I am going to make transparent so the white parts won’t cover up any other parts of my design later.
- Open a new tab with the LunaPic website
Note: You can find a ton of free graphics by searching for “free” and the name of what you want. Make sure you give credit where credit is due. It is discourteous and possibly illegal, depending on the rights to that image, to right-click on any of the Google images and “save as” and use for commercial or even personal use.
A few of my favorite free stock photo sites are:
- Pixaby
- StockSnap.io
- Unsplash (they add 10 free photos every 10 days that you can subscribe to. ALL FREE!)
On to the tutorial!
- On the Lunapic site , click on the Browse button to upload the image you want on a transparent background, as shown below with that handy-dandy arrow.

- Find your image in the folder where you saved it and double-click it, or click open. Here is a screenshot of my pocket watch image uploaded to Lunapic:
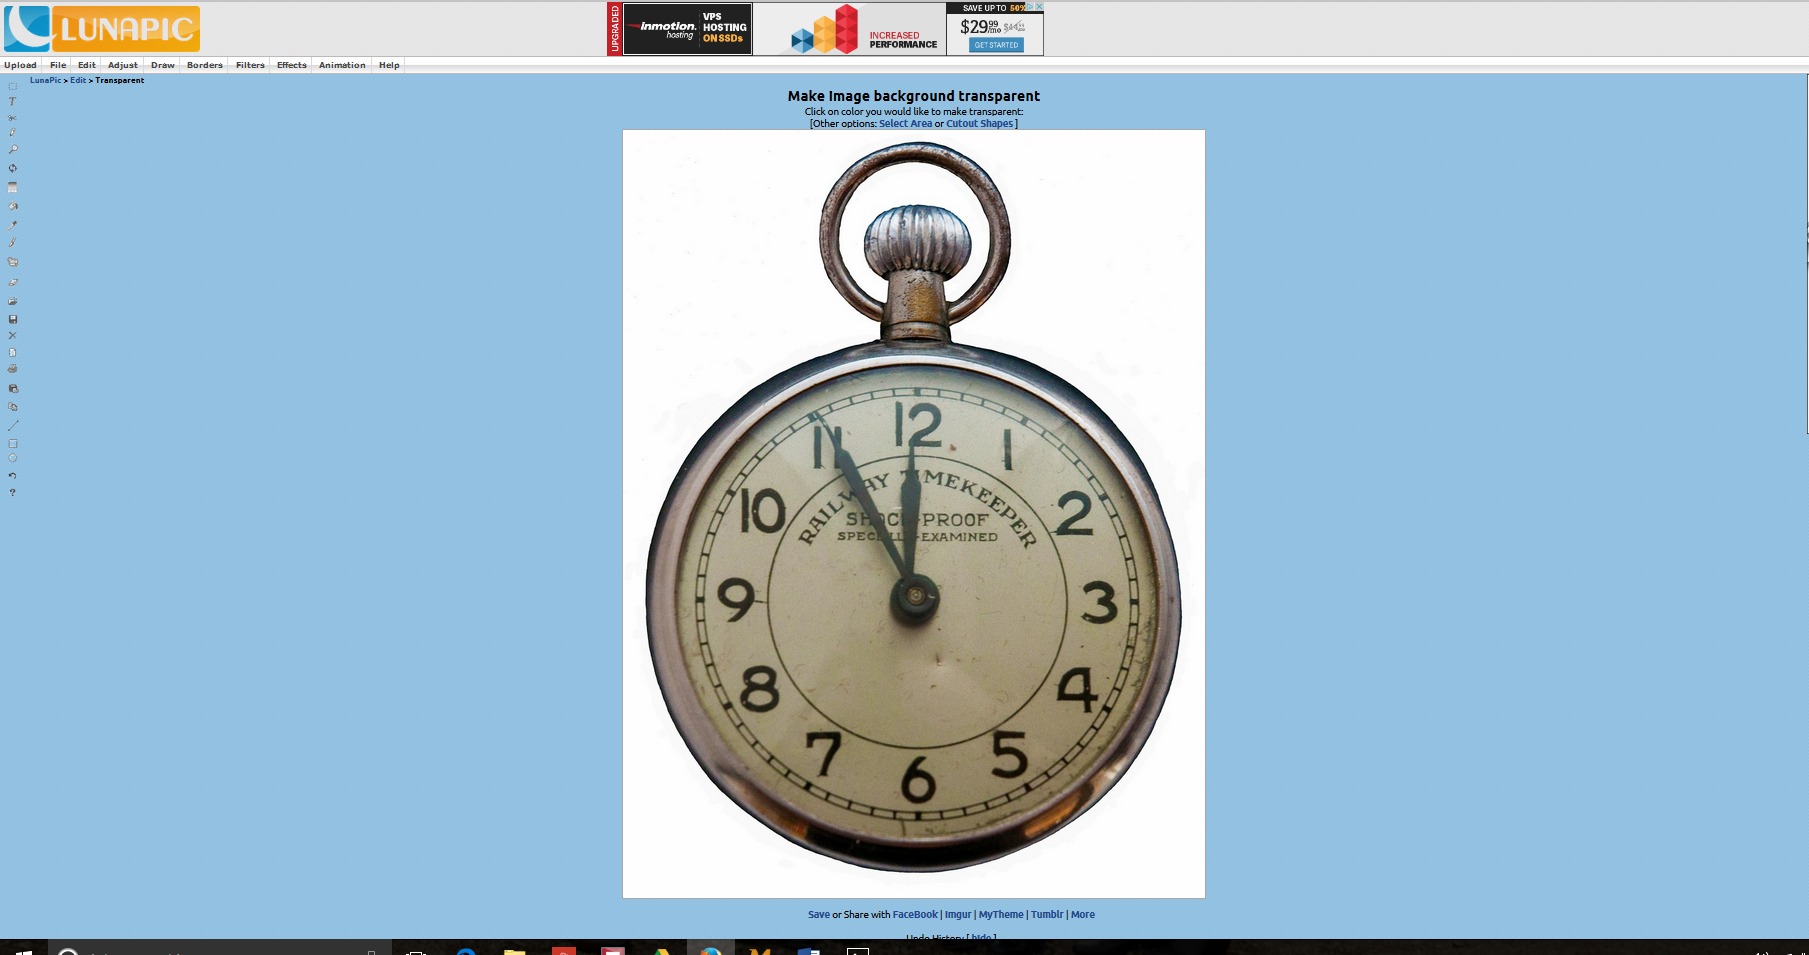
- Click the color you want to make transparent. I want all the white to be made transparent, so I clicked anywhere in the white space, as shown.
![]()
- Save your new image on transparent background!
Note: Enlarged picture will show the white and grey checked transparent background better

That was easy! Now you can open up your new image with a transparent background in any photo editing programs you like to create awesome graphics. The screenshots shown of the finished product were taken in Picmonkey. I opened up a new design, added a painted background, then chose the overlay effect (click on the butterfly icon, then choose “Your Own”, then browse your files and click your image saved on a transparent background.) I used the erase feature of the overlay to make it look like the pocket watch is actually in the jeans pocket. Pretty cool, huh?
PicMonkey is free to use and while they do have some great features to create all kinds of graphics for free, they have awesome premium features for the price of a grande caramel macchiato at Starbucks at just $4.99/month to be a Royal Subscriber. I love my caramel macchiatos, but the Royale subscription is totally worth it.
BUT WAIT! THERE’S MORE!
They also have a new pricing feature that bills annually at $2.75/mo. That’s a savings of $26.88 if you can front the $33 to sign up for the Royale-Annual plan! (That’s less than a tall cuppa java!) Or just sign up for a free trial and try it out free for 30 days. They also have tons of cool tutorials on their website that are super easy to follow.

Have photo-fun editing! What are some of your favorite photo-editing programs or tools? I’d love to see your projects!
